
From time to time the skies are covered in thick clouds…
As an amateur astronomer I’m not having much fun in these weather conditions. But one must find the good in bad, so sitting at my computer I’m experimenting with some of my older lunar images. One way to experiment is to try and improve yourself at image processing; another way is to learn new software. Well, this time I’ve selected the second way.
It’s been a log time since the FREE (!) LTVT software is around, and I must confess I’ve never used it until now. It is a very nice little software that can do apparent miracles with your data. Combined with the FREE (again!) LROC QuickMap this software allows an amateur to view his images under a corrected aerial view (and many other things, but this is what I did for now). Something that until today I was trying to do manually in Photoshop (and almost every time it did not go well).
The best part is perhaps that these two tools (LTVT and QuickMap) are so easy to learn and operate that in about 10 minutes I was already creating my first good quality aerial view of the lunar crater Gassendi.
This post presents the results obtained after processing some old images of this crater.
First, the initial shot of Gassendi:

The image above was acquired on March 20, 2016 with the 355mm Newtonian under pretty good seeing conditions. A number of small rilles are well visible in and around Gassendi. There is one rille of just 450 meters (!) wide crossing a dome on the lower part of the image.
This view shows how the area is normally observed from Earth with a telescope. The craters are viewed at an angle due to their location on the Moon.
To have an aerial view of the area one must use a tool such as LTVT. This is how the next shot shows Gassendi from directly above:

The most striking feature that is now obvious is that the central mountain is not directly in the middle of Gassendi’s floor, but slightly shifted to one side.
Next, I was hoping to create a tridimensional (3D) image of the area, using another image of Gassendi under a very similar illumination. This second shot may be found here.
Having also corrected this shot for aerial view using LTVT, I’ve assembled the two resulting aerial views using Anaglyph Maker into one Red/Blue 3d image. To view this shot one must use RED/BLUE viewing glasses. If you have them, just click on the image:

A second 3d image shows only the crater Gassendi with a slightly better tridimensional effect:
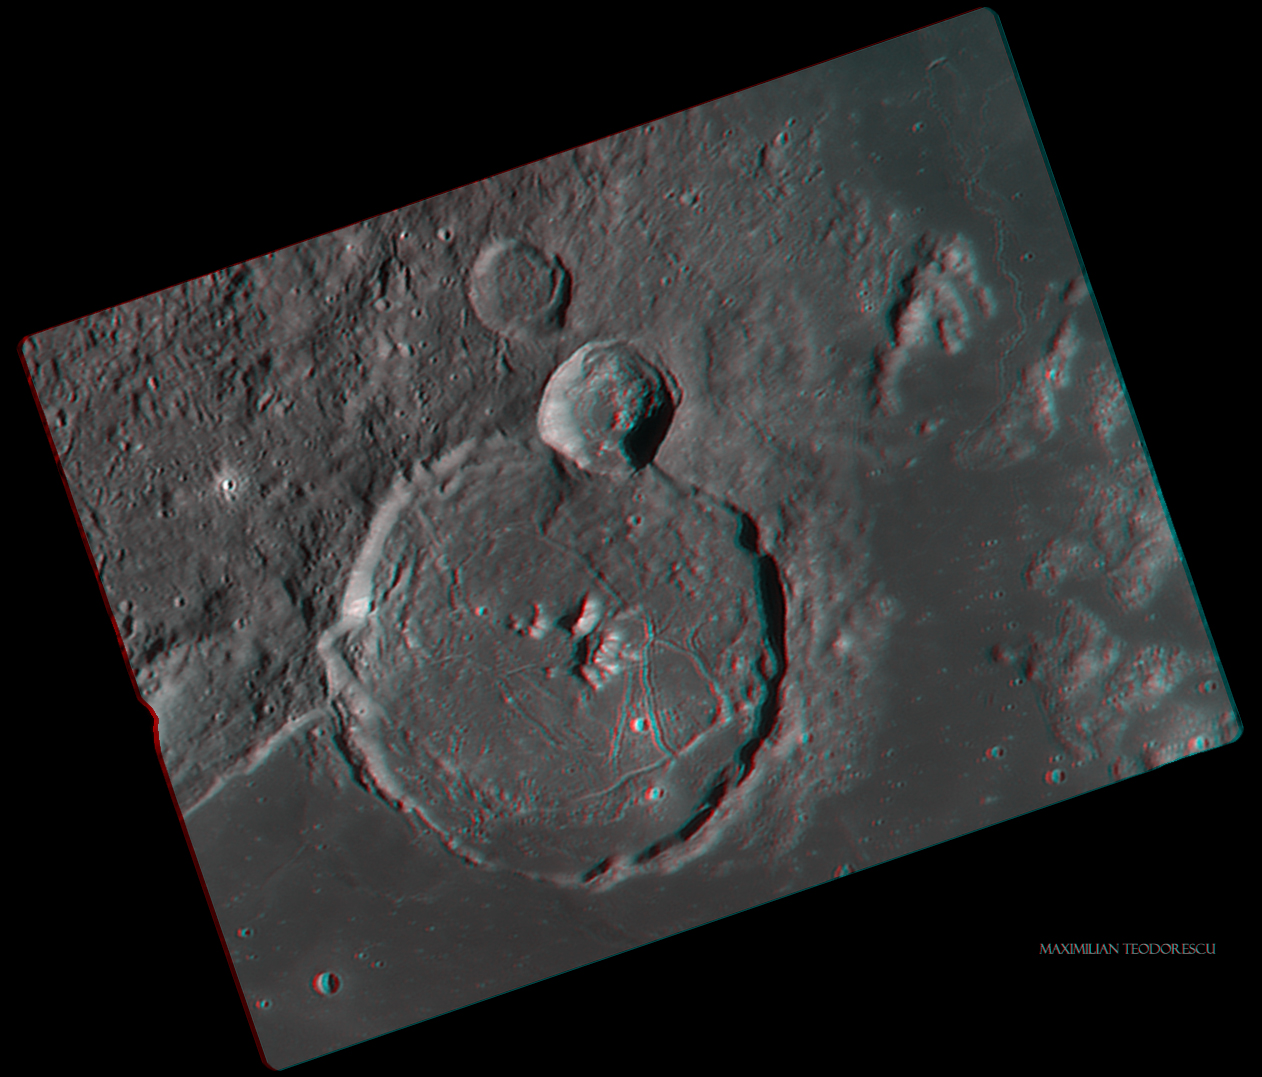
And for those who don’t have these RED/BLUE glasses, two animations showing the depth in such a 3d view. One animation has a slower fps compared to the other and simulates a little better an orbital forward-backward flight over the crater:
Slower:

Faster:

These first results using the LTVT software show me just how much more I can extract from the lunar shots I have acquired until now.
It opens the way for many more images to process…
![]()
![]()
